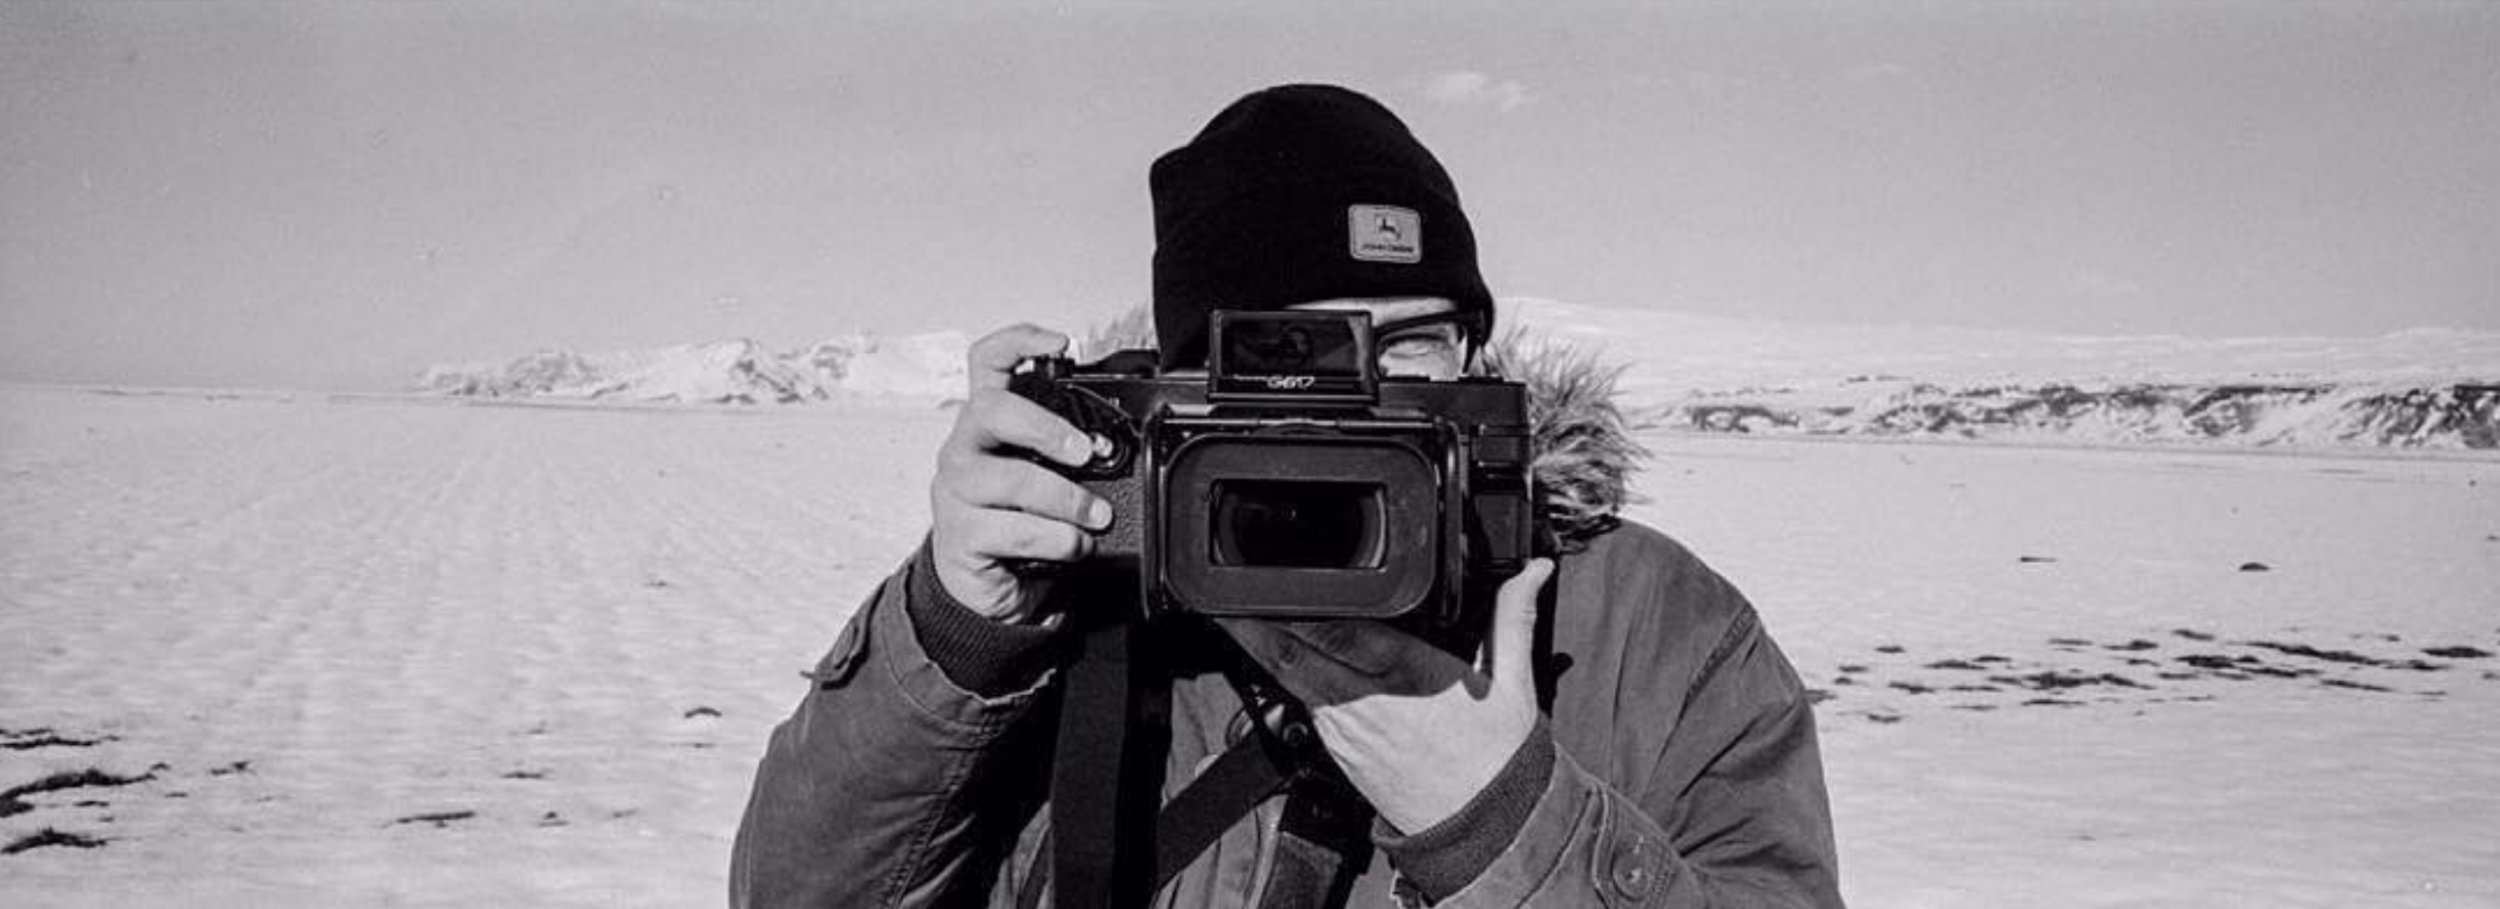
I have owned this camera for about 10 years now and I have an admission to make, I only really bought this camera as I was influenced by the actor Jeff Bridges when I stumbled across his black & white photos taken on sets, between takes, with a panoramic Widelux F7 camera. Films like Tron, True Grit, Crazy Heart and The Big Lebowski.
More photos can be found on his website https://www.jeffbridges.com

I found one on eBay, bought it, loaded it, shot a roll of film and had it developed…the results…nothing! The negs were all black. I thought it must be me, maybe I didn’t load it correctly. So I carefully loaded a new roll and shot more photos, had them developed and the same thing…nothing, so I put it on the shelf to gather dust.
Fast forward a year or so and I picked up the camera again, convinced it was user error previously I watched a video on youtube to check I was loading the film correctly. I took my third roll of film and had the same results as before…nothing. Not giving up this time, I did an online search to see who might be able to repair or at least service the camera, this is when I found Precision Camera Works in Chicago (he is now based in Texas) (https://www.precisioncameraworks.com). As luck would have it I was going to be in Chicago a few months later with work, so I reached out to Bob and he agreed to look at it. I sent the camera off and arranged to pick it up when I arrived in Chicago.
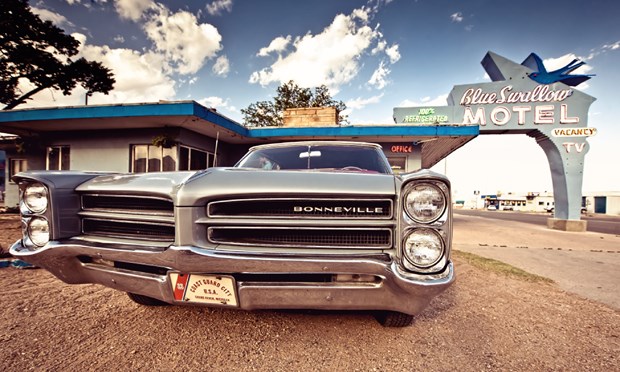
After the various work meetings I drove over to see Bob and to pick the camera, he said it was all working now and would be okay (I forget what he said the issue was). Then I had to fly to Los Angeles, so the first time I used it was at the Donut Derelicts early morning car meet at Huntingdon Beach https://www.donutderelicts.com/. I had no idea what to expect or even if the images would come out given my earlier trials with the camera…but it worked and here are just a few photos from the car show.


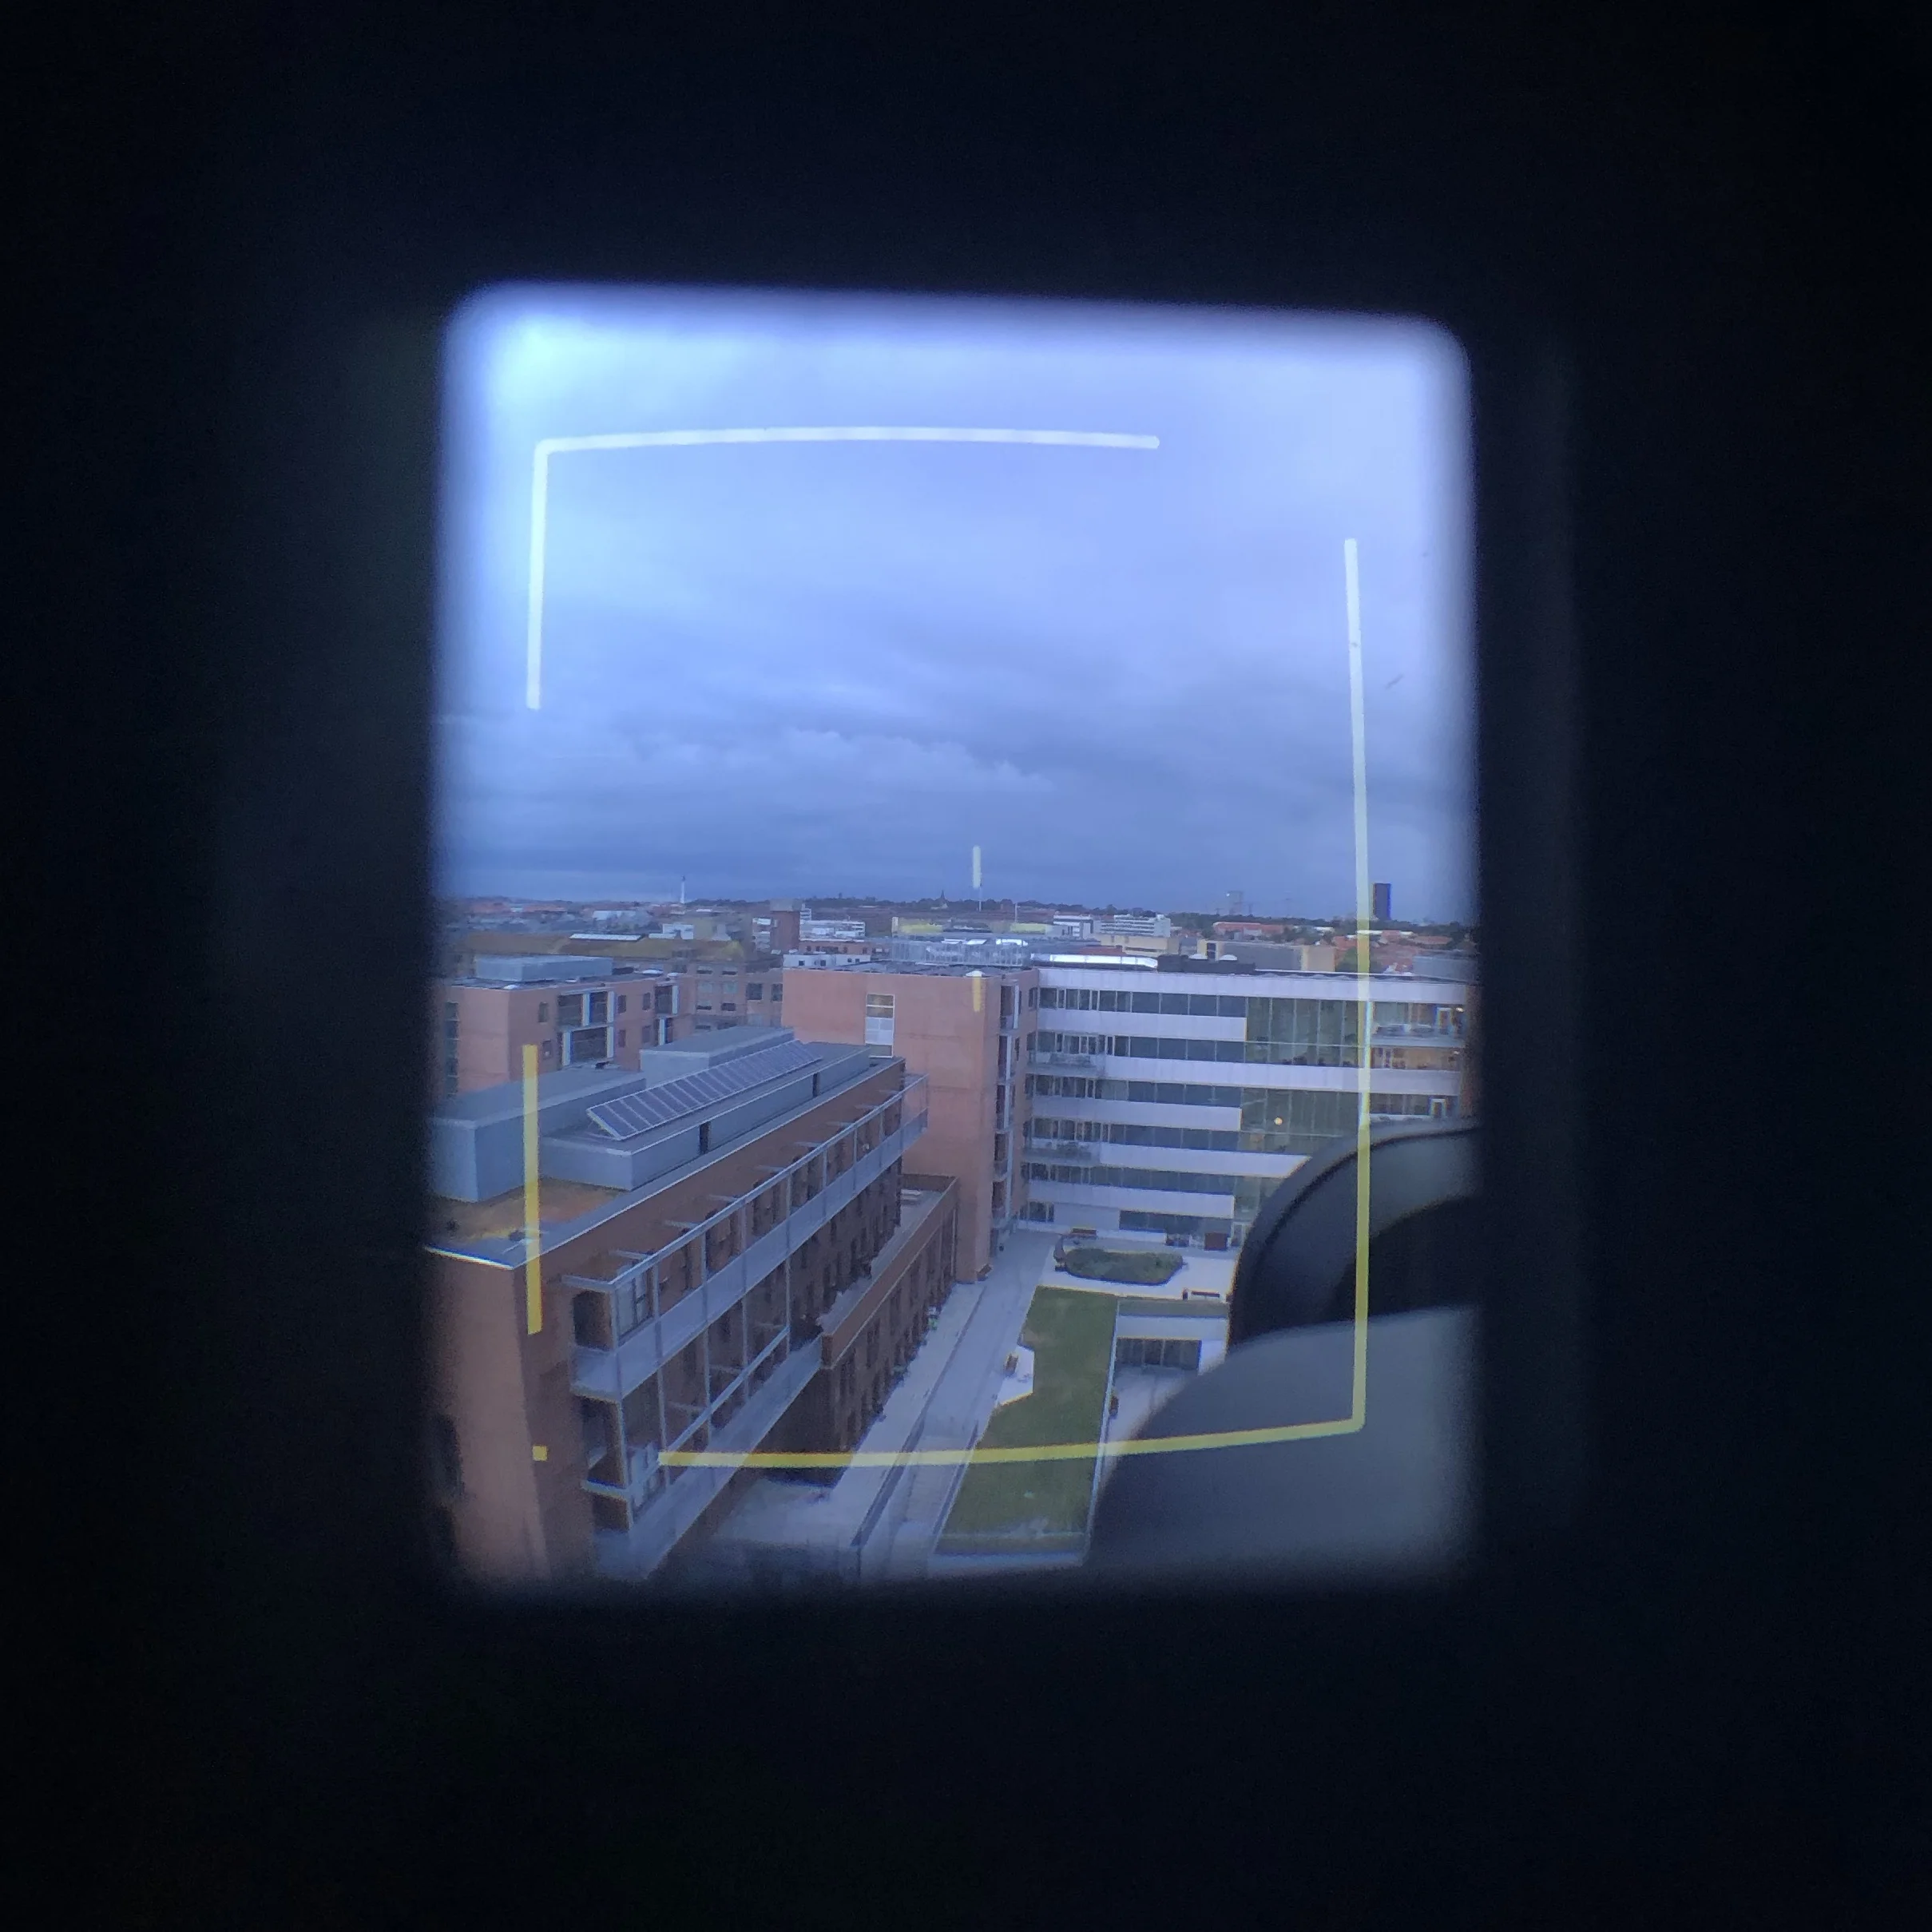
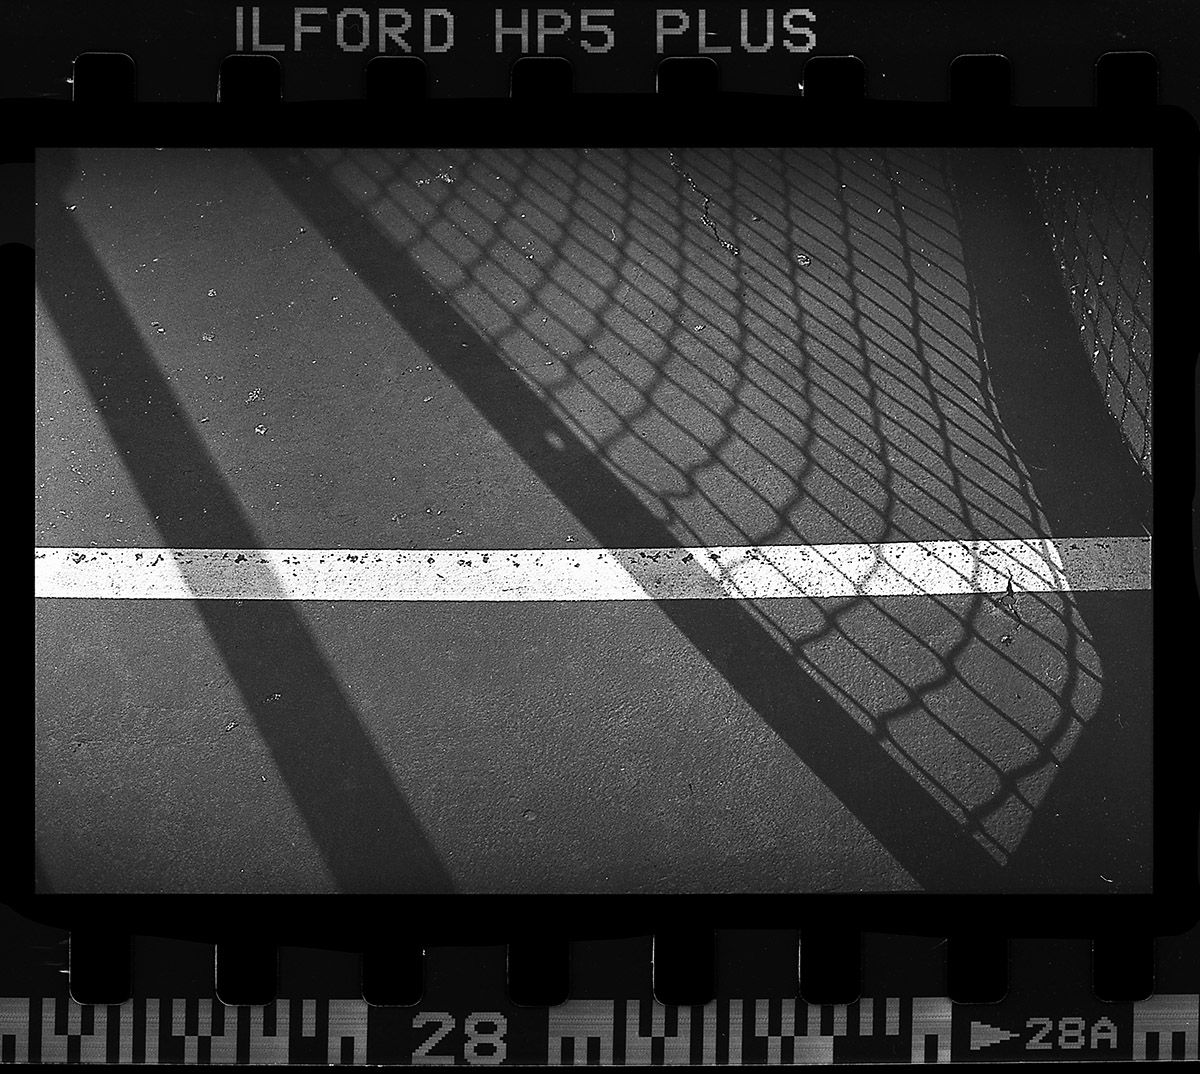
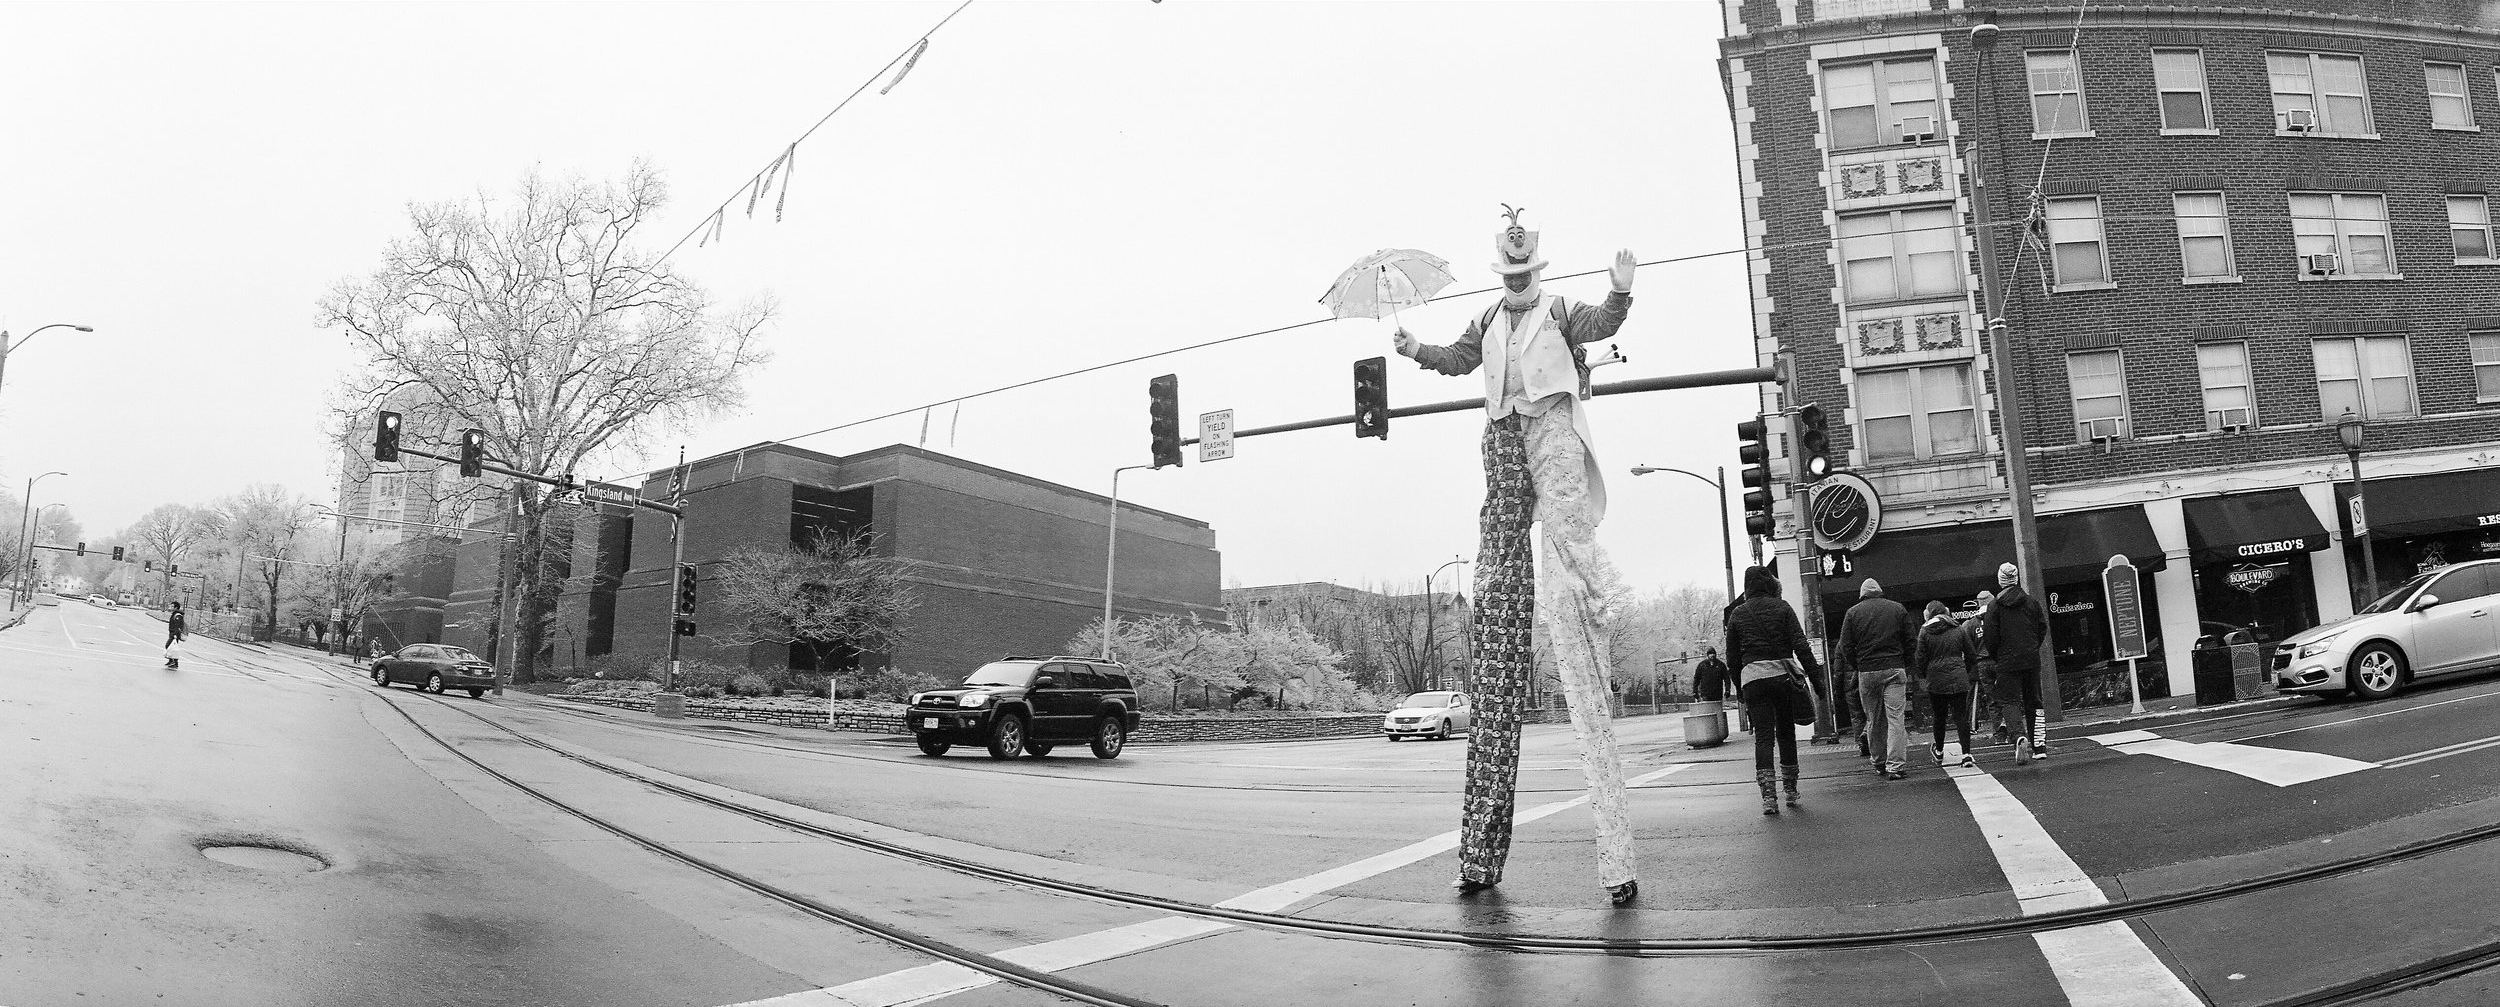
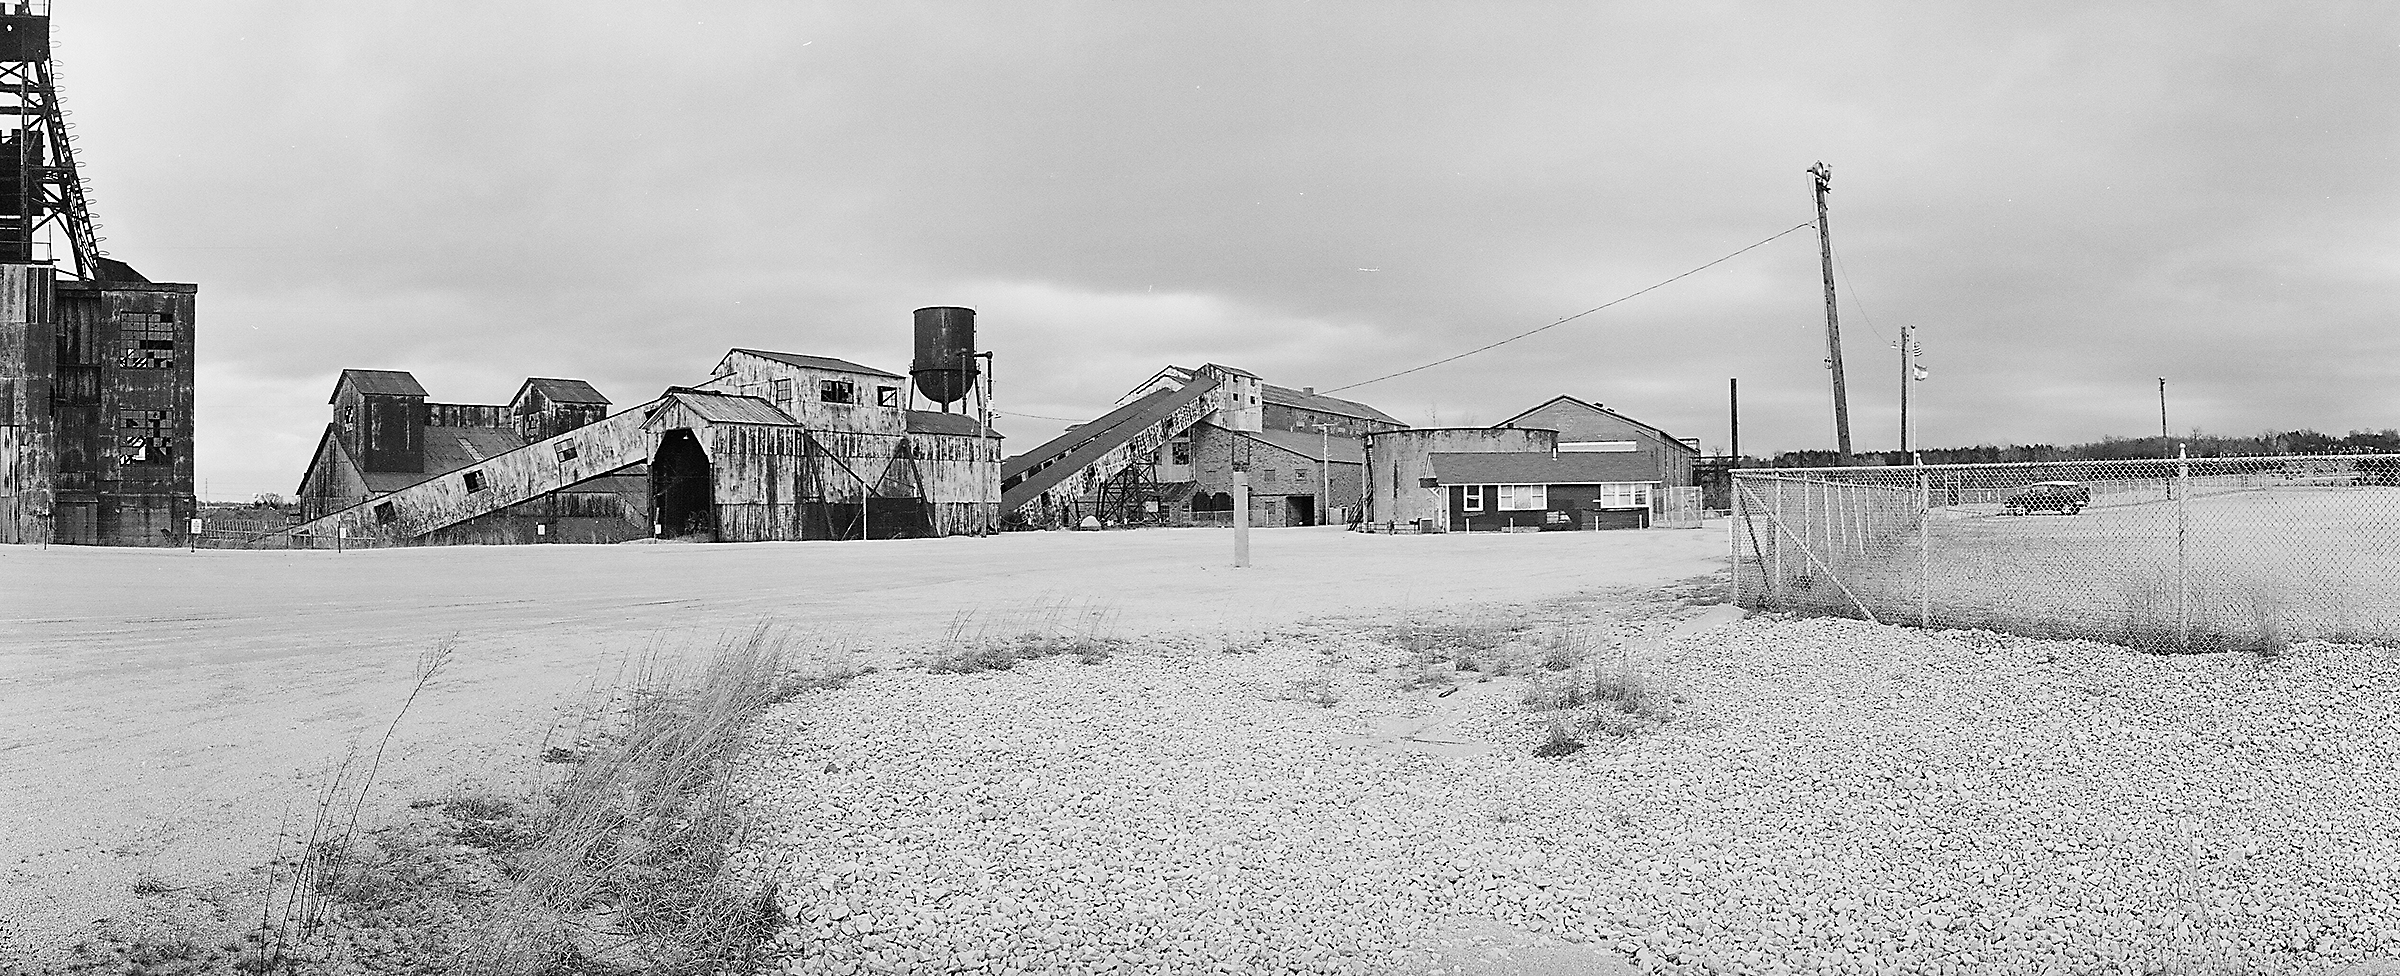
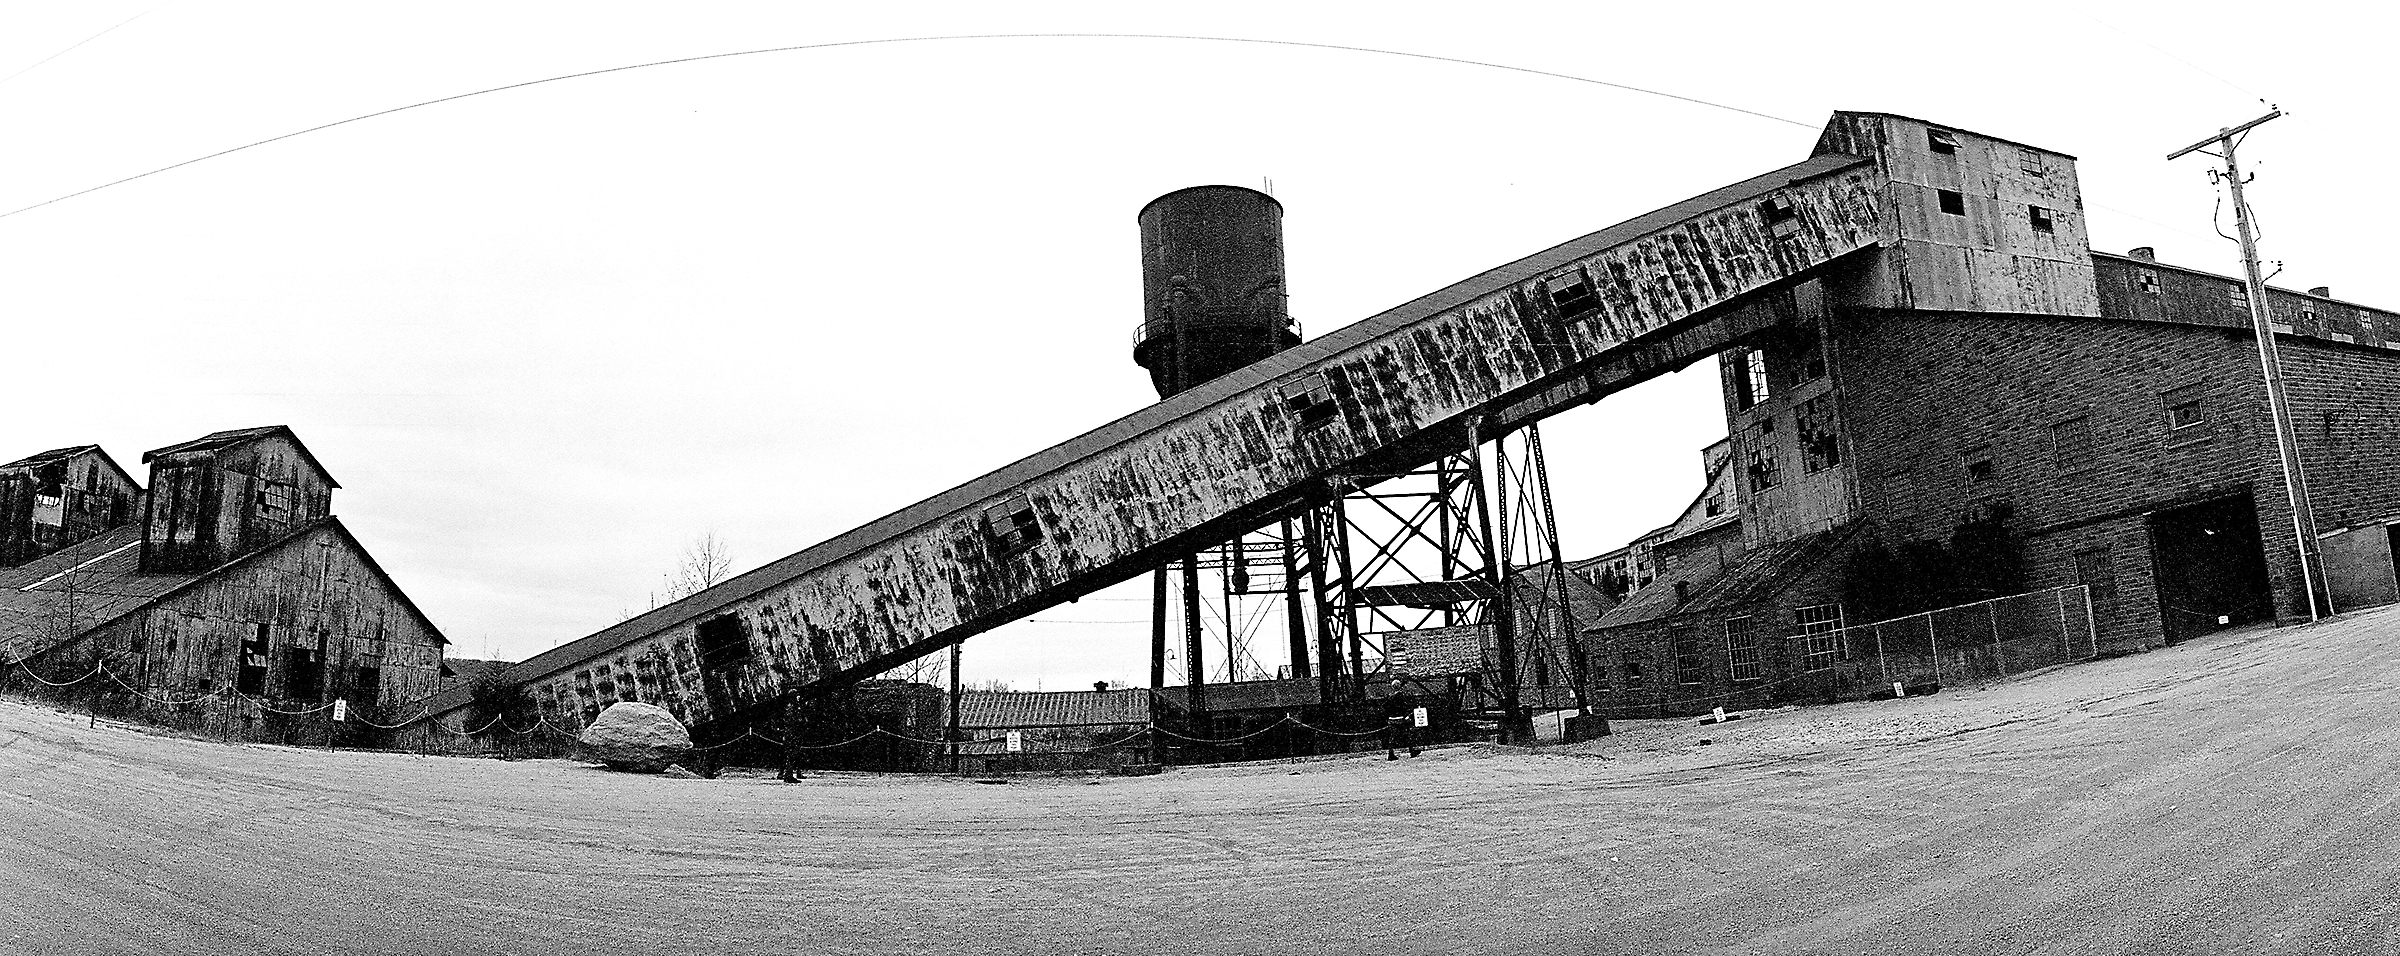
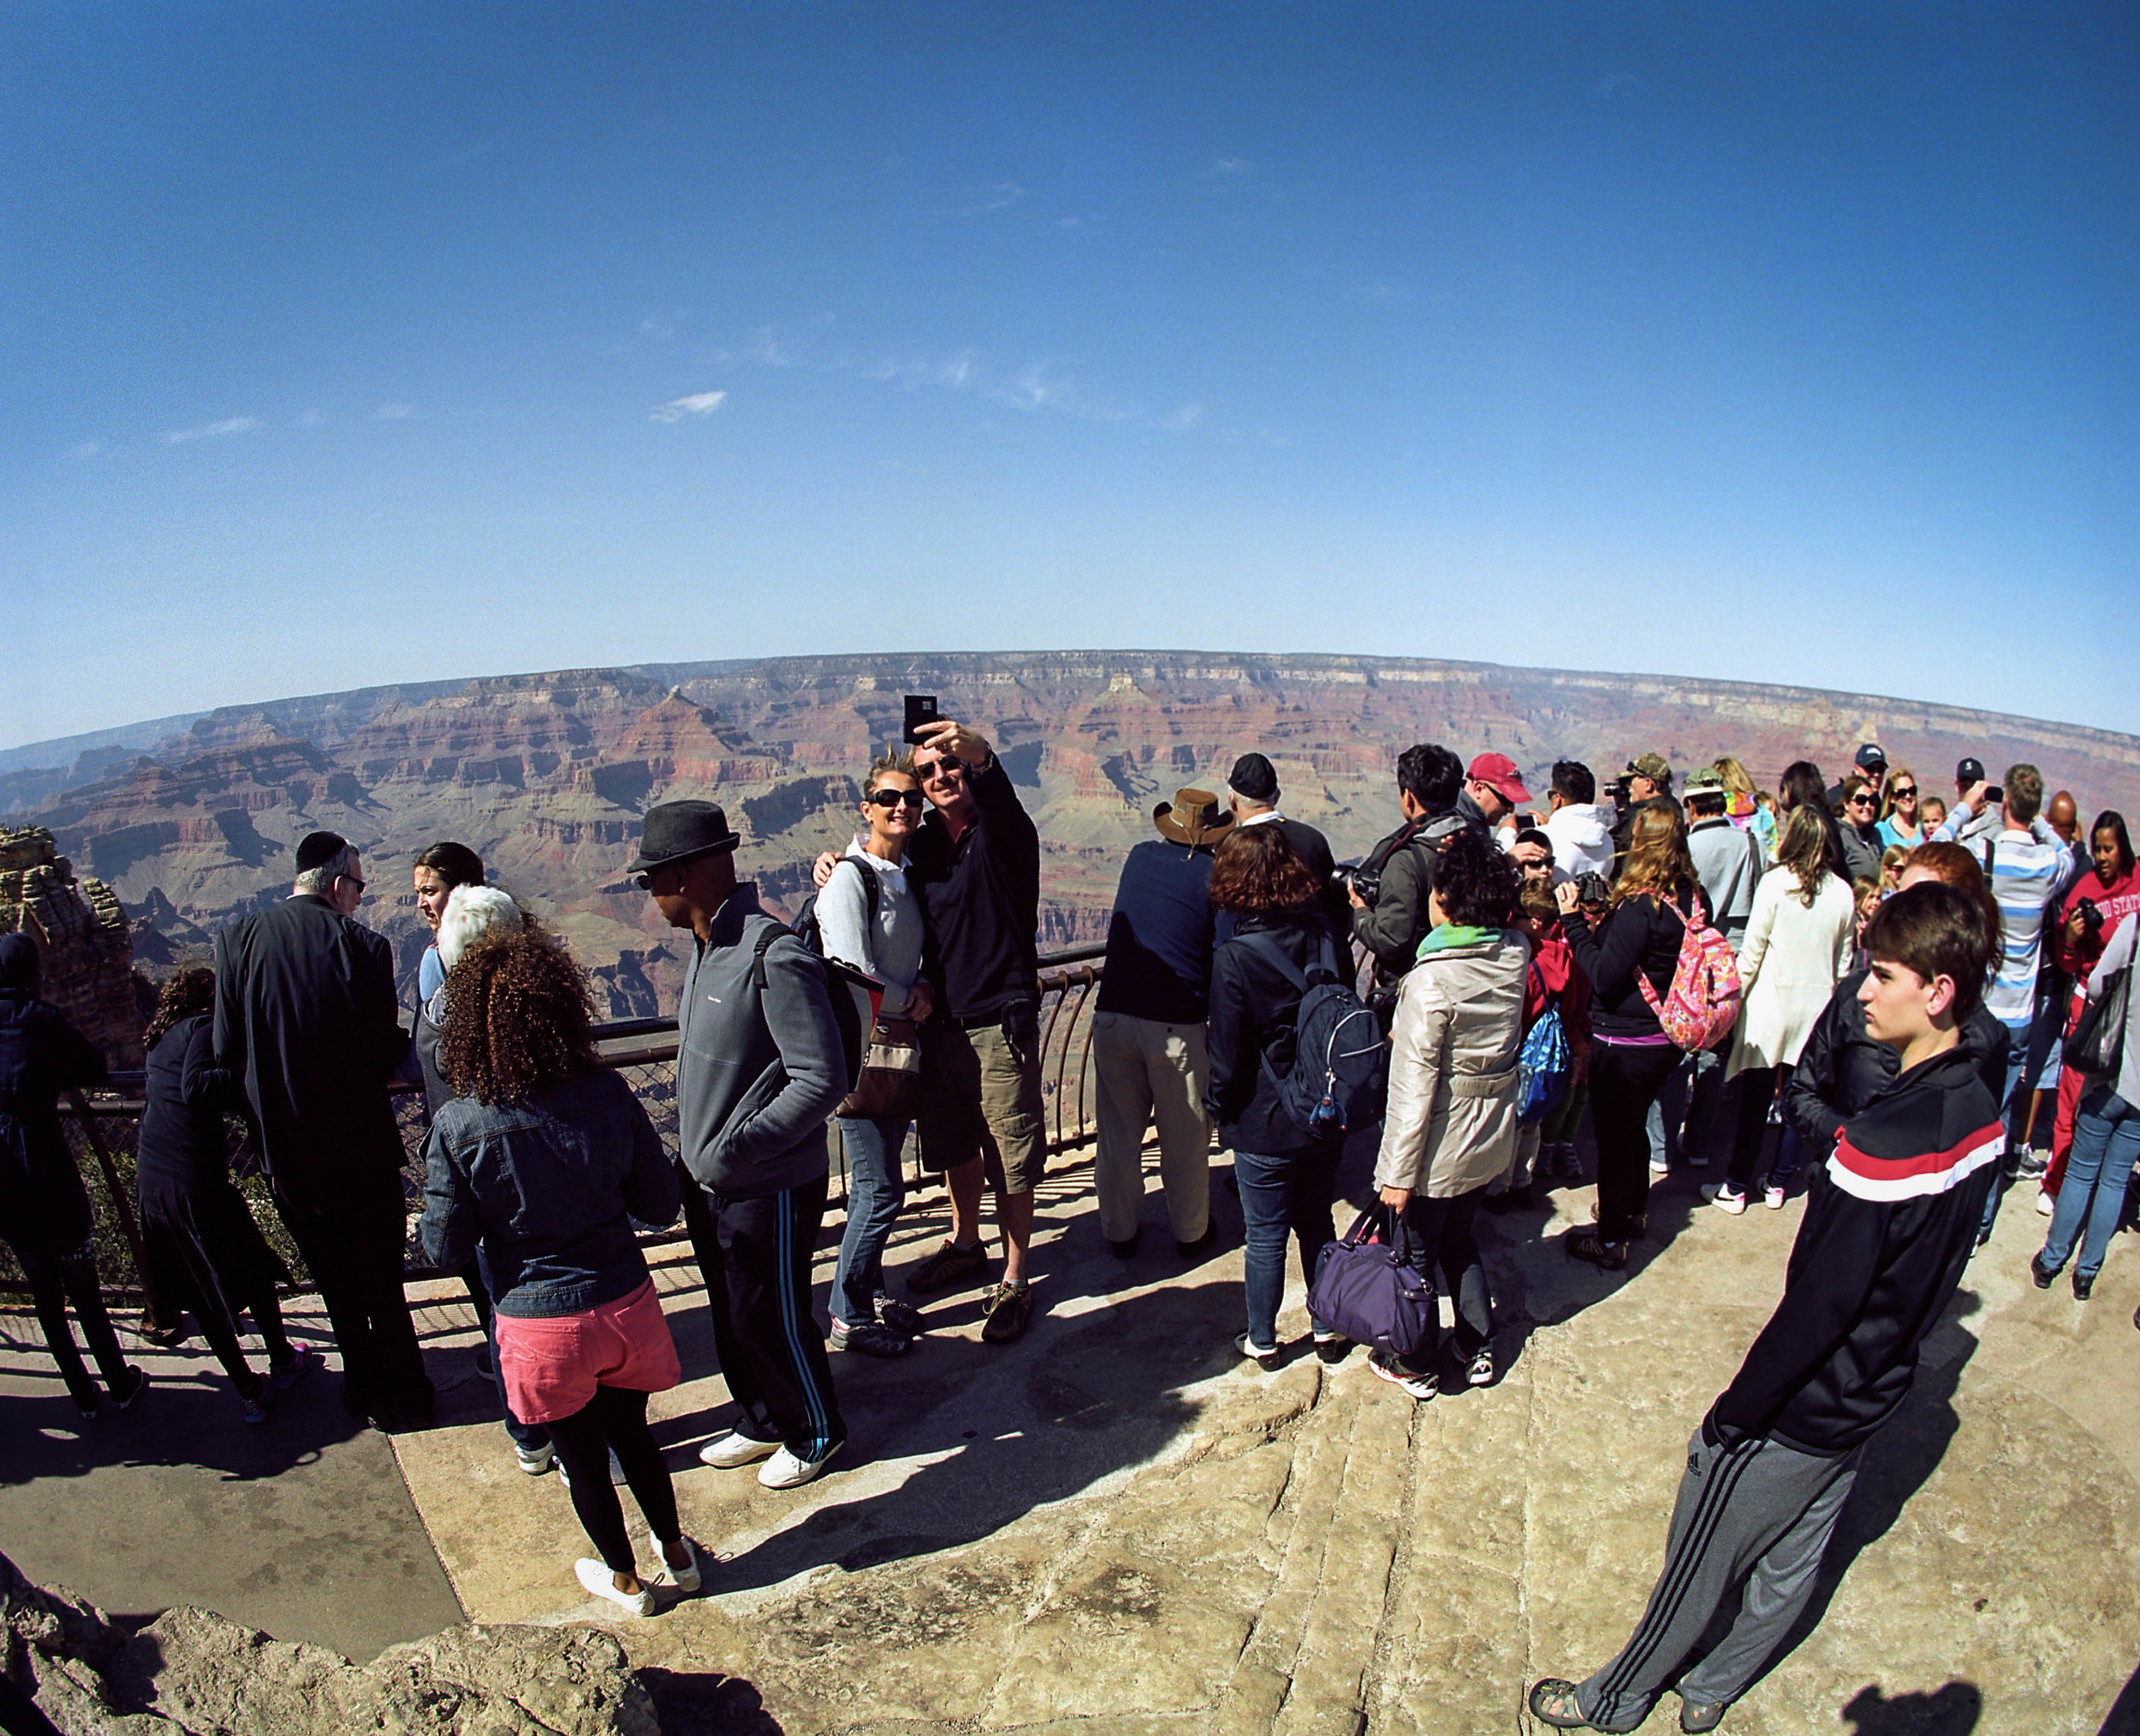
For those that don’t know, the camera works by rotating the lens through a 180 angle as you take the photograph, if your too close to your subject there can be some distortion. When you’ve taken a photo, the act of advancing the film is also the way the lens is reset to the original position. There are only three shutter speeds (1/15, 1/125, 1/250 sec), the view finder is pretty accurate but your own eyes are a better view finder and you will find it relatively easy to take good pictures without using the view finder at all.
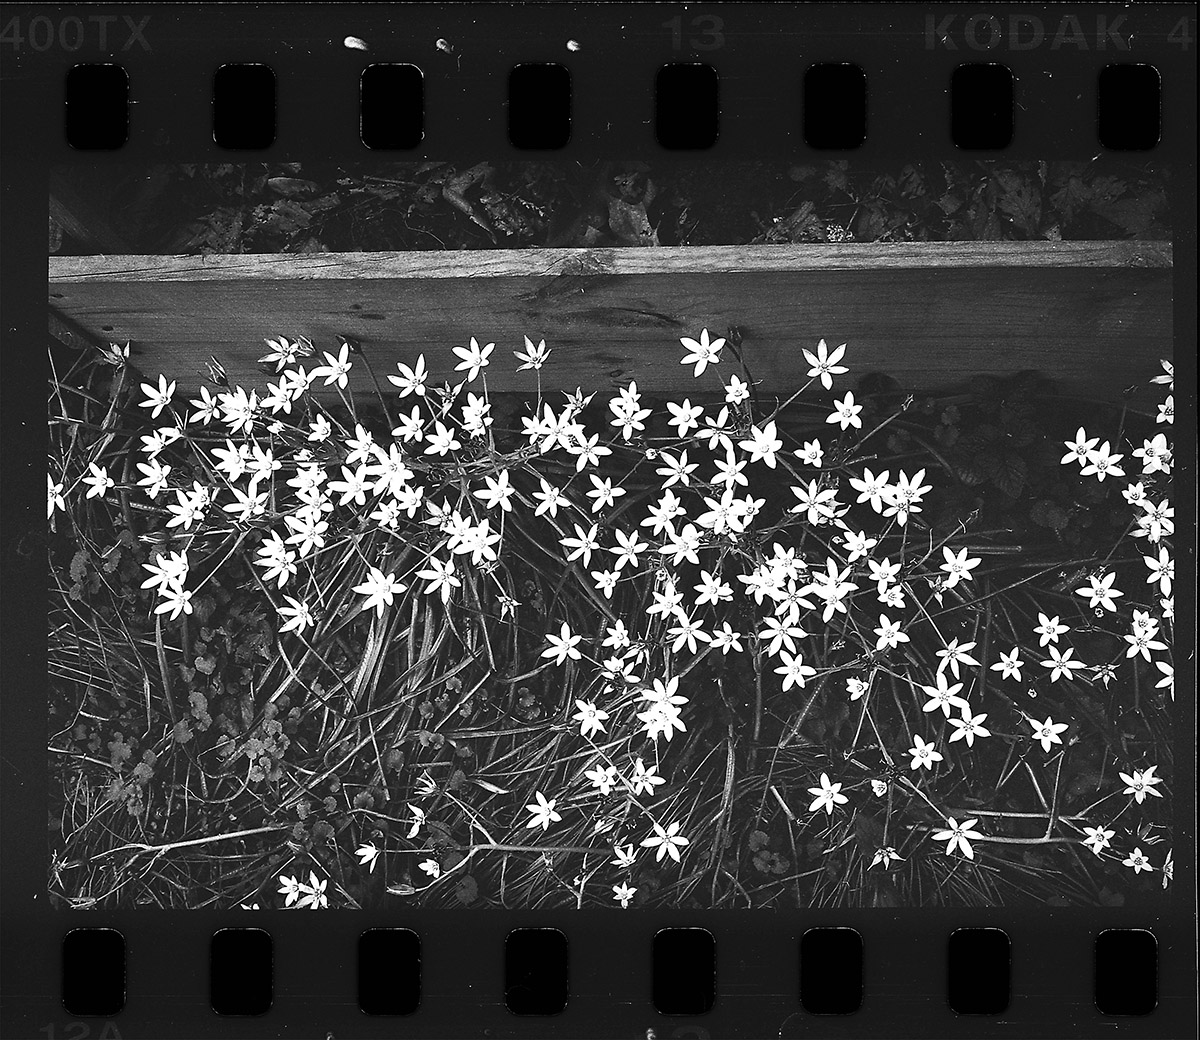
The second time I used the camera was on a trip to Fez in Morocco, I had decided to just take rangefinder cameras with me, so I had the a Mamiya 7ll, a Leica M9-P and now that I was feeling a little more comfortable with the Widelux I took that too. Unfortunately the airline lost my luggage with the battery charger for the Leica and most of my 120 film (big lesson learnt there). So I had limited use of the Leica, a roll or two of Ilford HP5, Kodak 400TX and some Shanghi GP3…I ended up buying a few rolls of Fuji print film locally (not much choice).
The first few days we were exploring the old city of Fez and I was able to shoot a few decent photos of the local tannery with the Mamiya 7ll.

I was also able to borrow a Fuji x100s as I wanted to keep some of the Leica battery life for later in the trip. I won’t show all the photos here as this is about the Widelux, but here is a photo from a project I was doing on a local boxing gym.

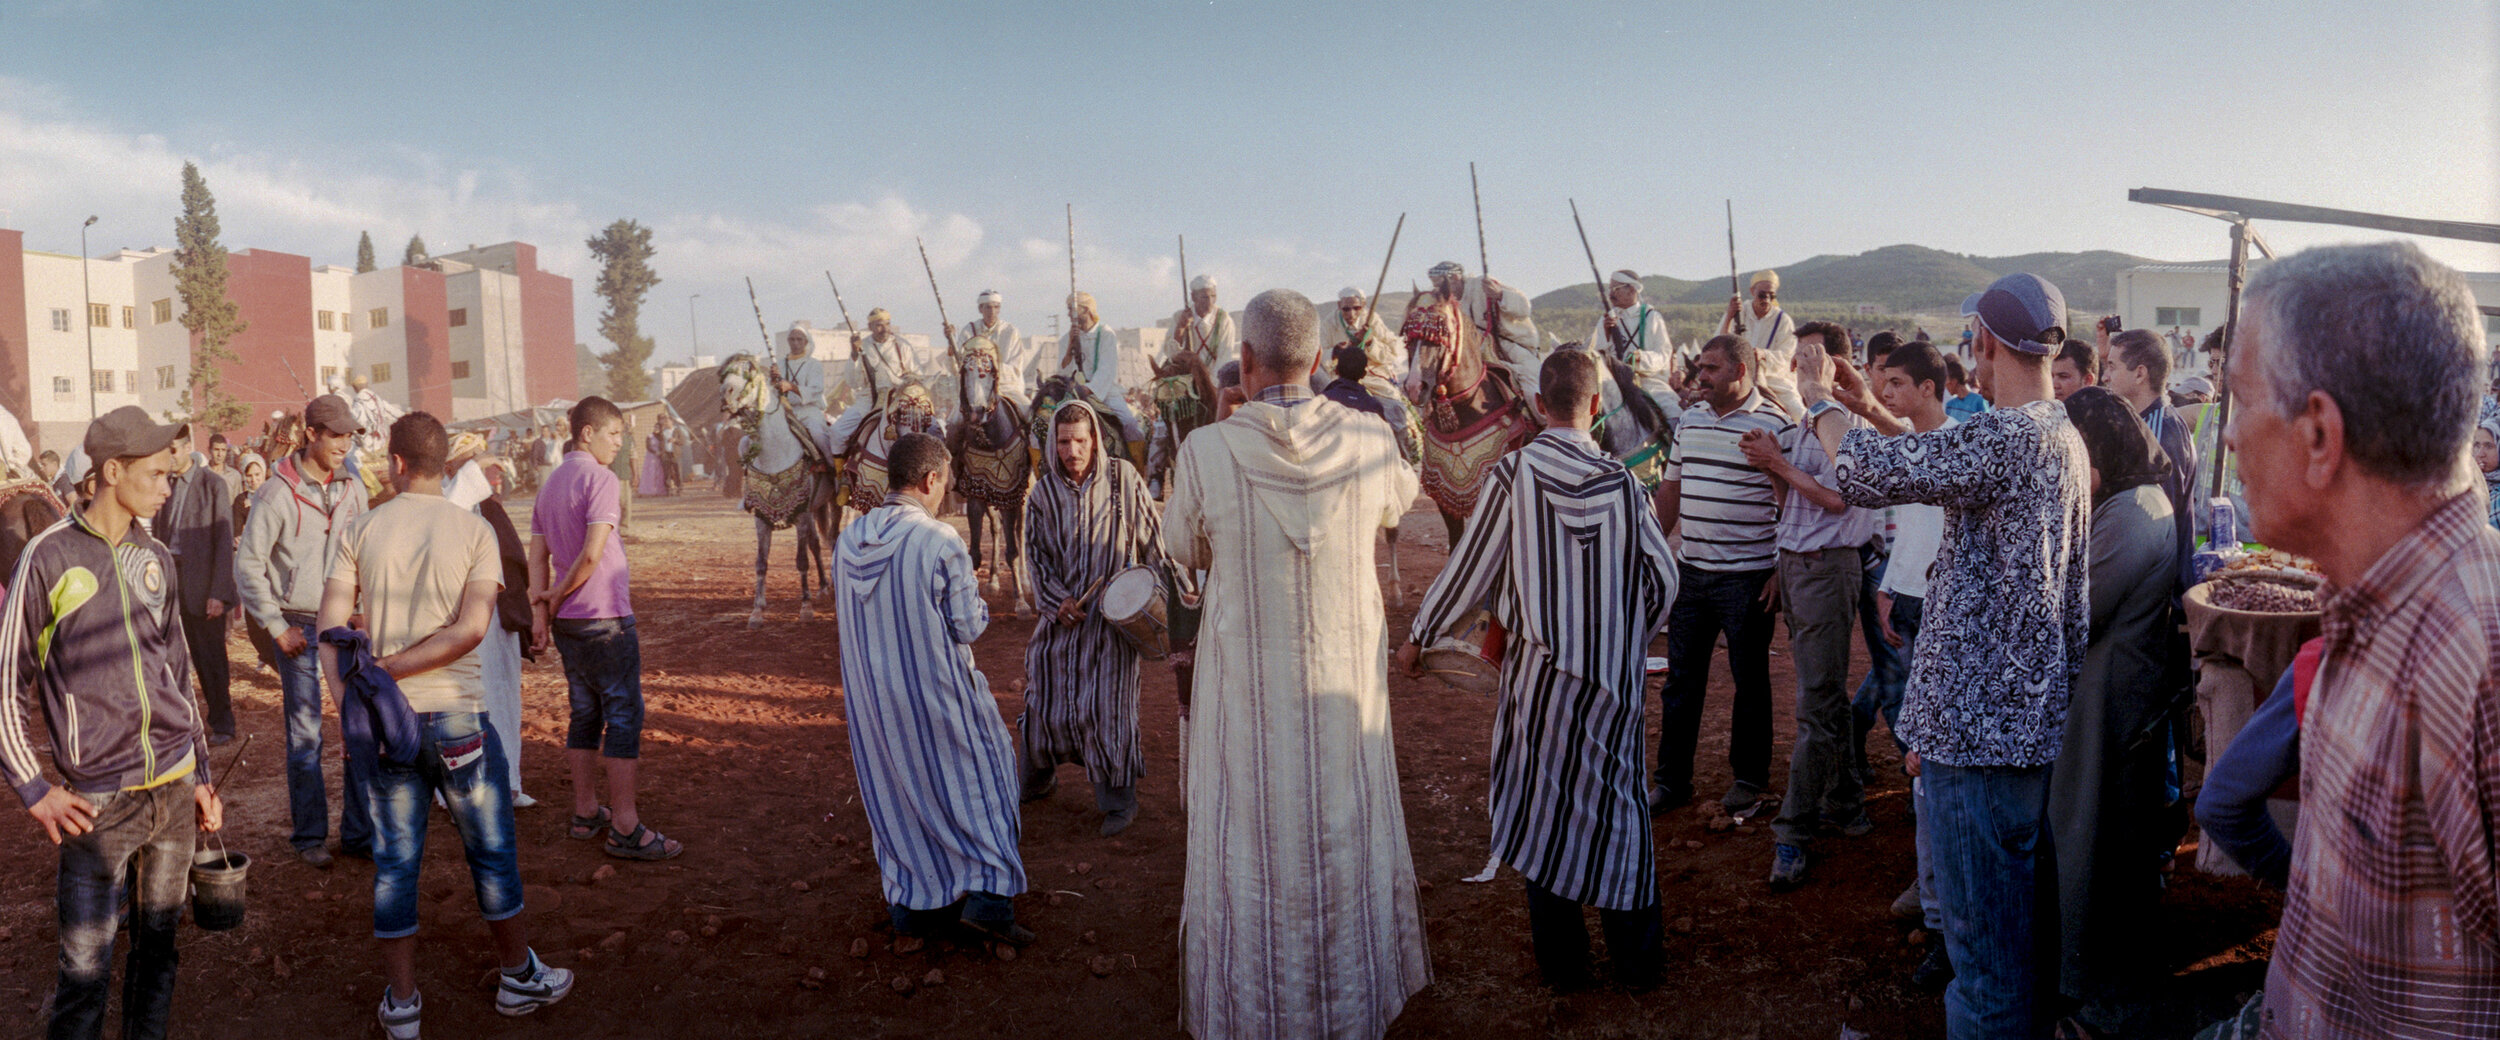
The other camera was the Leica M9-P. This was taken at a local Fantasia event, the brown smoke in the air is gunpowder from the recently fired guns.

Fantasia is a traditional exhibition of horsemanship performed during cultural festivals and celebrations in Morocco. The performance consists of a group of horse riders, all wearing traditional clothes, who charge along a straight path at the same speed so as to form a line, and then at the end of the charge fire into the sky using old muskets or muzzle-loading rifles. The following photographs were all taken with the Widelux F7 and either Fuji 200 or Kodak 400TX 35mm film.


I tried to play with perspective and hope I captured the atmosphere of this event. I still have a lot to learn when using this camera but it was a fun experience and I was very happy with the results given this was just my second time using the camera.
Thanks for reading and liking the blog…any questions, please feel free to drop a message.
Peter